This experiment is run on a Mac Laptop. For Windows, the file path may be different but the commands should be essentially the same. 1. cd to the location: `~/Library/Android/sdk/emulator` Now view the list of available emulators with: ` ./emulator -list-avds` Say you want to enable internet in the first device Nexus_5_API_30, make sure the emulator isn't running(it's closed), then run the following command: ` ./emulator -avd Nexus_5_API_30 -dns-server 8.8.8.8 -read-only` Now the emulator starts and you can browse internet in it. Most importantly you can now sign in to Google Play store and perform various operations, like in my case I needed to pair a phone emulator to a watch emulator which needed Wear OS app to be installed on the phone and that needed Google Play Store login. Let me know if this works for you or not.
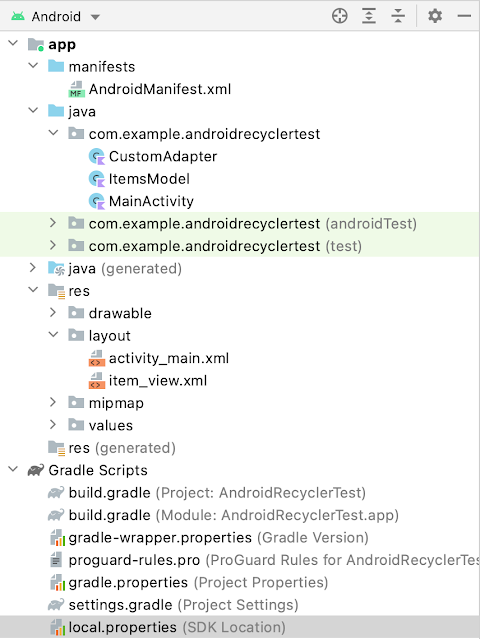
You can read what's view binding from the official documentation. I am presenting a TL;DR of how to do it in an Activity and RecyclerView. This is more of a reference document than a tutorial. This is how the project structure looks like: In the app level build.gradle file inside the android block add the following: buildFeatures { viewBinding = true } And then gradle sync your project. Let me know if you have any comments, question or concerns. Sulav
Make sure the android device is connected. adb devices Run the following command and start performing actions on your emulator or physical device. adb shell screenrecord /sdcard/example.mp4 Once you are done, press [Ctrl] + [C] to stop the recording. Pull the video from the device to your computer using: adb pull /sdcard/example.mp4 If you want to convert the mp4 to gif, run this command: ffmpeg -i example.mp4 example.gif

Comments
Post a Comment